Tuesday, May 31, 2011

Mojo Monday - Father's Day Cards


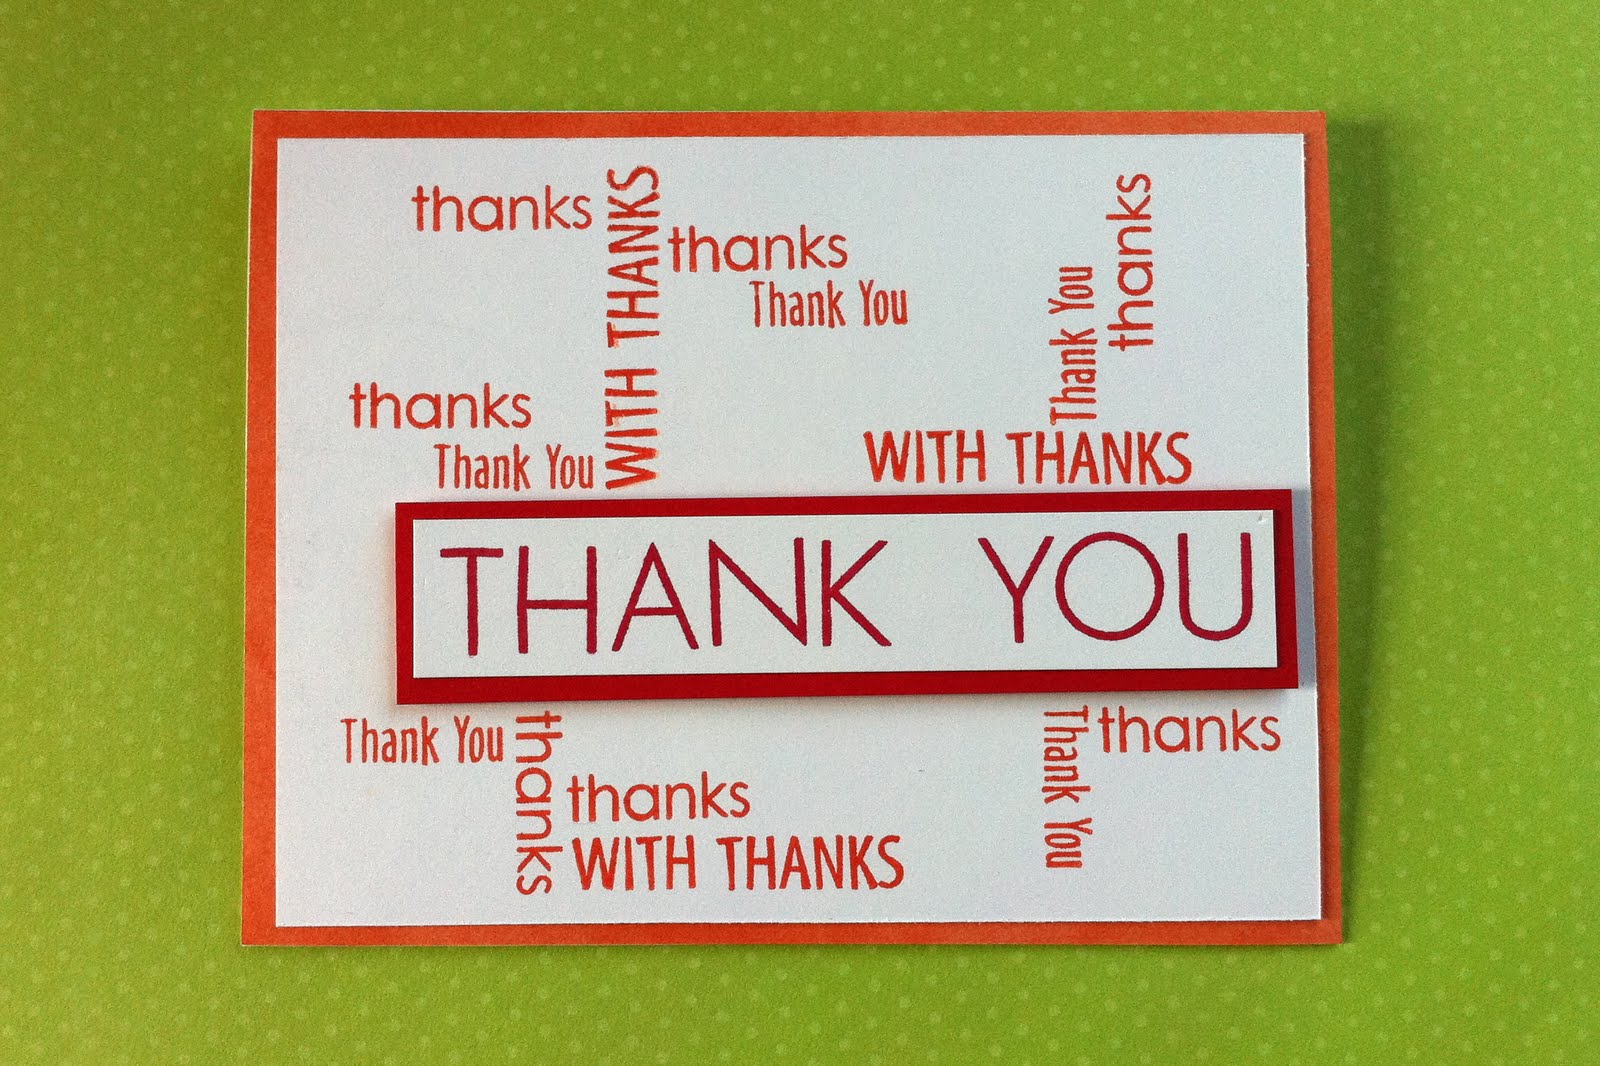
It's a Round or Square week at Mojo Monday.  I really loved the sketch for this week and couldn't wait to try it out on some Father's Day cards.

I used the Passages Paper Pack to make two slightly different variations.  I also used the You & Me Stamp Set, and the Pennant Alphabet.  The ink colors are Cocoa and Garden Green.

The first version I made was this one.  I cut out the text box and stamped a second-generation swirl image behind the sentiment.  I didn't have any cute ribbon to match, so I used a strip of patterned paper mounted on Cocoa cardstock.  I used the reddish/copper toned Opaques from the Cocoa collection to link the pennants.
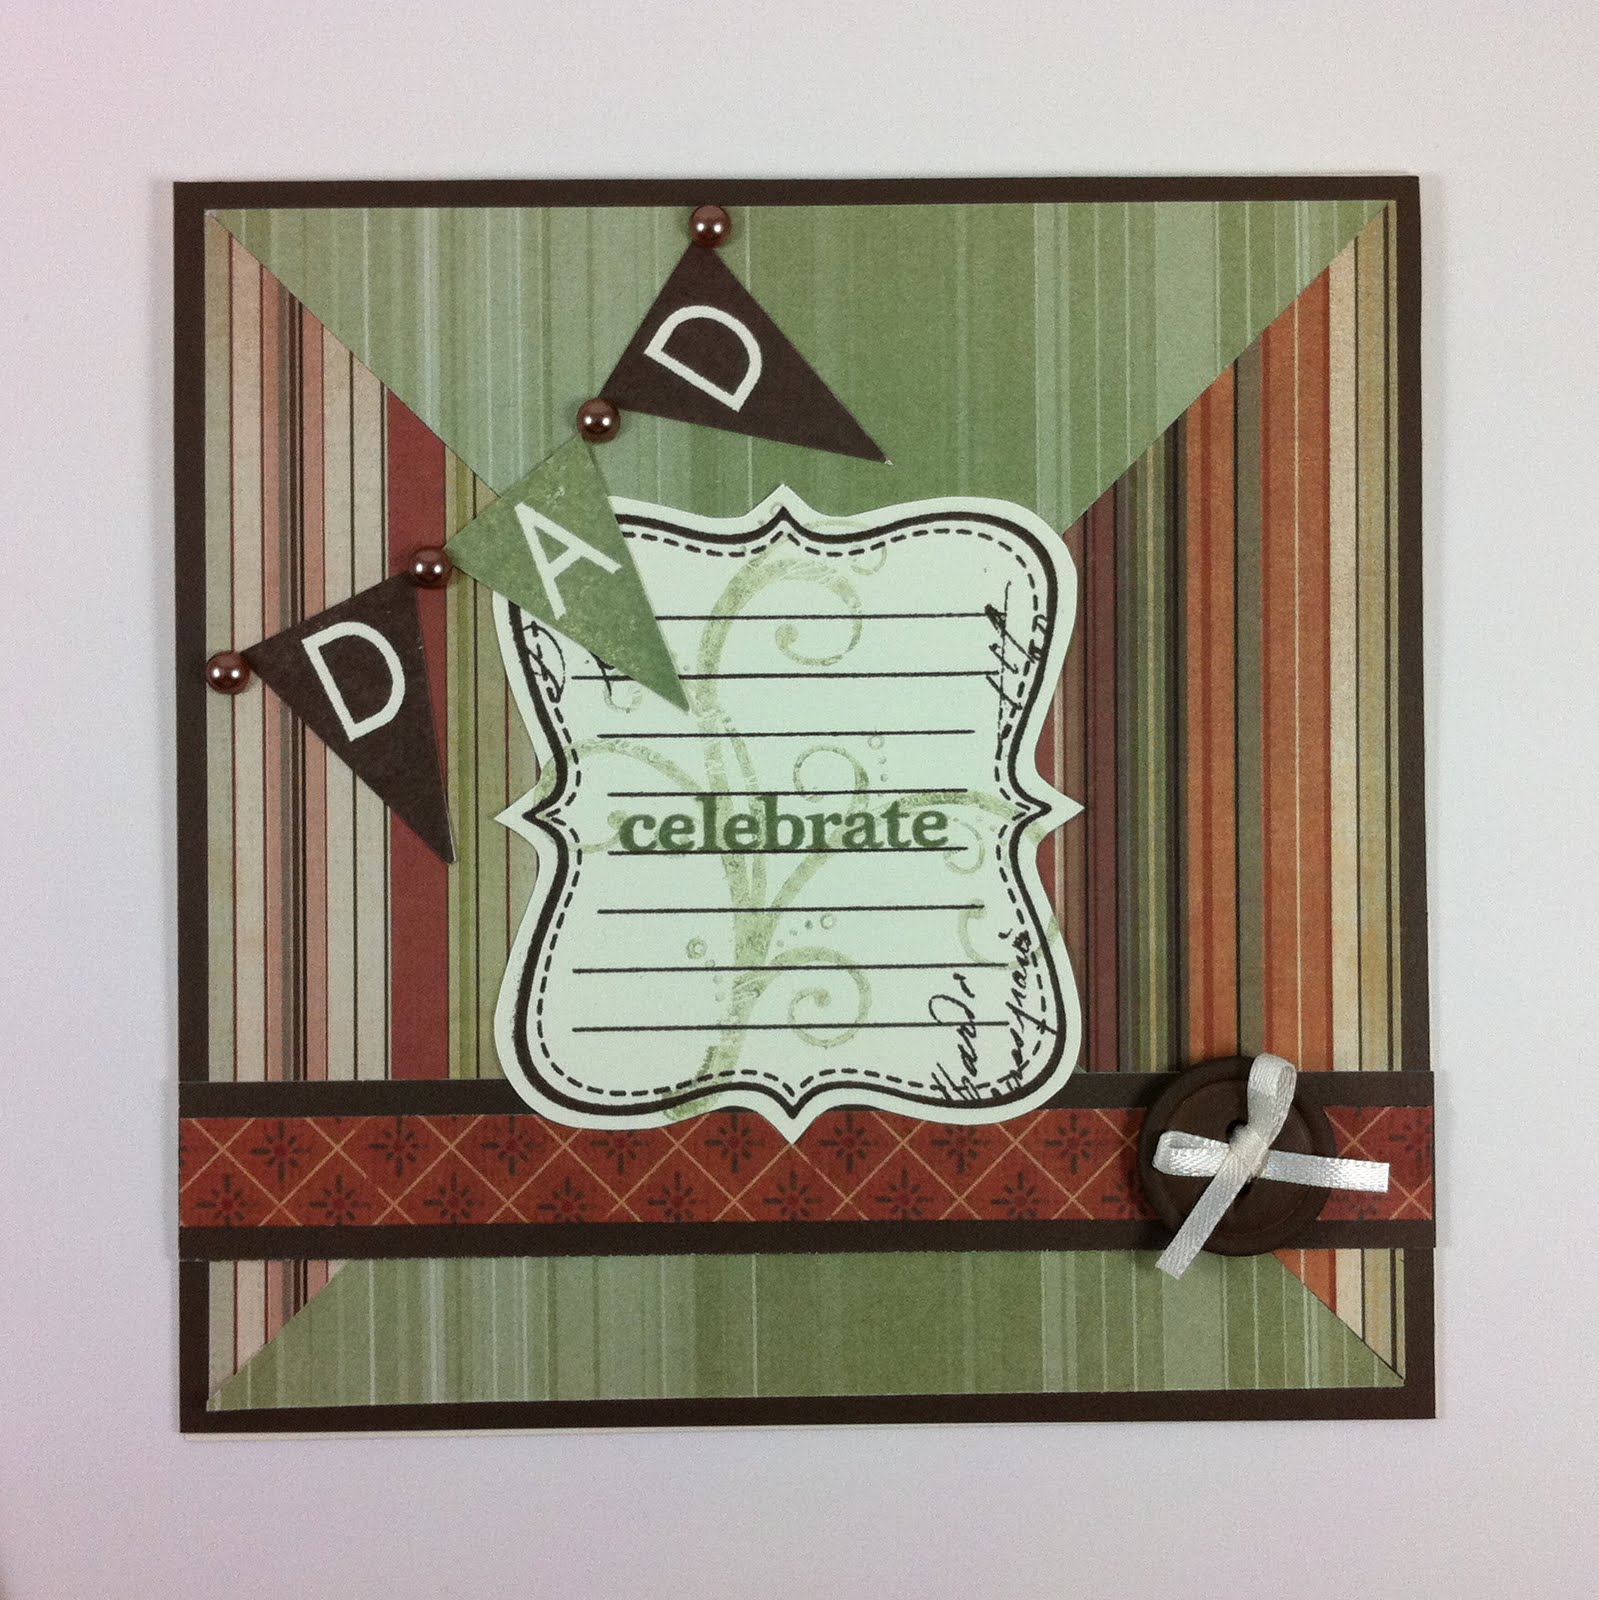
This is my second version.  I wanted to use the same basic materials in a slightly different way.  This time I left the text box as a rectangle and mounted it on Cocoa cardstock.  I changed the image I stamped behind the sentiment.  This time I put my patterned paper ribbon in front of the text box.  I arranged the pennants into a fan shape with the tiny Opaques at the corners and a larger one at the point.  I stamped some extra pennants in solid and polka dot and layered them beneath the button for a sort of bow-tie look.  I had a lot of fun making these cards - it was one of those times when everything fell into place.  Love this sketch!

Monday, May 30, 2011

H2H - 4 Seasons Card

It's a sketch challenge this week at Heart 2 Heart. I used the sketch as my starting point, but I did modify it a bit.

 I came up with the idea of using the Trees & Things Stamp Set to make a little scene in one of the panels. The set comes with a ton of cute tree accessories, and I couldn't decide which season to do.  The sketch features 4 panels, and seemed like a perfect fit (excuse?) to do all 4 seasons.


The basic colors are Clover Meadow, Chocolate, Tulip, and Sunflower. I attached the Spring and Summer panels with foam tape. This helped since they didn't lay exactly flat because of the brads I used as blossoms and apples.


In the Winter scene I used some Glitz Glitter Glue to simulate snow on the branches.


The set comes with two leaf arrangements - one full of leaves and one a little more sparse. There's also an individual leaf stamp that helped me add a few leaves to Spring and Fall to get just the look I wanted.


I really adore this stamp set. It's one of the more 'fun' sets to create with. On a side note, this is my last week as Guest DT. It was a lot of fun and a real honor. Thanks Mary & the Design Team for sharing such great ideas week after week. And a special thanks to all those of you who take the time to leave comments when you visit.  I know it's easier to just click right along to your next stop, but the time you take to say a few words is truly appreciated.

Wednesday, May 18, 2011

365 Cards - Day 77 White Space Challenge

I found a new challenge blog which is really ambitious - a new challenge every day!  It's 365 Cards.  The card I created is based on the White Space Challenge, which is basically to keep all decorations on one half of your card.  I've been in a "Clean and Simple" mood lately, so this appealed to me.  Here's my design:

I think I might make a bunch of these up to give as a Teacher Gift this year.  The whole design started from me playing around with Close To My Heart's 1.25" Circle Punch.  I realized you could make a cute apple.


To make the apple, punch two circles - one red (Tulip) and one green (Clover Meadow).  Then use the punch on the red circle to take the "bite" out of the apple.  Punch the green circle a second time to make the leaf.  Then cut a small strip of green to be the stem and that's it.  I mounted my apple on top of a 2" Black scallop cut-out.  


The stamped images came from the Classmate Alphabet Stamp Set.  Thanks for stopping by!

Monday, May 16, 2011

H2H - My Favorite Technique

Over at Heart 2 Heart this week we're supposed to share our favorite technique.  And after thinking about it...I have no idea what my favorite technique is!  There's so many great ones - stamping techniques, paper folding, layout ideas - there's no way I could choose one as my favorite.  Really, my favorite thing is trying out something I haven't done before.  So that's what I've decided to share today - something new that I tried on a layout just recently.

Close To My Heart has some really amazing patterned papers and there are times that I find it difficult to plop pictures down on top of it!  The paper is so pretty and it's a shame to cover it up with photos and embellishments.  That's what happened to me with this paper from the Sweetheart Paper Pack.


Put the photo down on top of it, and you lose the wonderful look of the paper.

I decided to fix this by using a technique I'm calling the "making the background the foreground" technique.  Here's how.

I wanted to place my photo on the right edge of my paper.  I turned the patterned paper over and placed the photo where I would want it, but touching the left edge since I'm working on the back side.  In pencil, I drew a line along the bottom edge of the photo and along the right edge.


The pencil lines cut across some of the main heart images of the paper, which correspond precisely to the images on the front of the paper.  Using an X-acto knife, I traced the outline of any images that would be underneath the photo and touched one of the pencil lines.  Don't make any cuts outside the pencil lines, though...only make cuts connected to the pencil lines that are within the photo area.  The picture below has the photo attached to the front side so you can more clearly see where my cuts were.


Now turn the paper over and tuck your photo behind the cut out images, letting them lay in front of the photo.  I added a title and that was all the extra embellishment I thought this layout needed.  The garden of heart flowers still looks super cute and shares the stage with my photo.  I'm so happy with how this turned out!

Wednesday, May 11, 2011

Erie Canal Layout Using Passages

Here's my latest layout.  It's based on one of the layouts in Magic...I don't remember which one.  I had to adjust it, because the pictures were supposed to be 5 inches tall, and mine were only 4 inches.  The paper is from Passages, and the stamped images are from the You & Me Scrapbooking Kit!  I just got the kit the other day, and absolutely love the stamp set.  It's fantastic!


Cricut Cartridge
Stamped

CTMH Supplies
Passages Level 2 Paper Pack
Colonial White Ribbon Round
Mocha Opaques
You & Me Stamp Set
Bard Red Exclusive Inks Stamp Pad
Cocoa Marker

Monday, May 09, 2011

H2H - Buttons

This week's Heart 2 Heart Challenge is to incorporate buttons into a project.  I loved all the projects submitted by the Design Team.  Definitely worth going and taking a look.  This is my card:


It took a little time to get those squares and rectangles to all play nice together  :)  I was amazed at how well the Liquid Glass worked.  It's virtually invisible behind those clear buttons.  This is a nice little card for using up scraps you have laying around.  


Saturday, May 07, 2011

Simple & Fast

Sometimes it's nice to get that sense of accomplishment without investing a lot of time. That was the case with this card.  It was inspired by two challenges - a color challenge from The Play Date Cafe and a text challenge from CAS-ual Fridays.


And here it is:  

Very simple and very fast to put together.  I pulled from a few different Close To My Heart stamp sets - Fringed Phrases, Classmate Alphabet are the ones I remember off the top of my head.  The main Thank You is attached with dimensional adhesive.  The colors are Sunset & Tulip.
This was a nice change of pace.  Thanks for stopping by!

Thursday, May 05, 2011

Happy Mother's Day

Here are some photos of the most beautiful Mother's Day card ever.  Handmade cards really are the best, aren't they?
 

Wednesday, May 04, 2011

Mojo Monday - Something a little different


I decided to try out the Mojo Monday sketch this week.  The card I came up with feels a little 'heavy' to me because of all that black, but of all the different ways I tried putting paper pieces together, this was the look I liked best.  I love that piece of flowery patterned paper from the Sweetheart Paper Pack, though. I kind of think the card looks better in person than it does in the picture.  The Sparkles are hard to see and you don't get the full effect of the dimensional bits, both of which add a little something.  

Tuesday, May 03, 2011

Great CTMH Deals for May

Close to My Heart is running two great promotions in May!  If you've ever thought of being a Consultant, as a hobby or a business, now is the time!  When you sign up in May you'll get the New Consultant Kit for 50% off - only $64.50 plus tax and shipping. That will get you nearly $300 worth of great stuff!  Click here to find out all the details, and then come back to this link to sign up!


Want another great deal?  You can also get the exclusive You & Me scrapbooking kit for $15 with a minimum order of $50 in CTMH products* in May.  You can create two fully embelllished two-page layouts with this kit & it includes a stamp set!  You can also purchase the kit at full retail for $34.95 with no minimum purchase, or get it FREE if you sign up to be a Consultant.  Click here to start shopping, or go to my Video tab at the top of this page to see a video of the kit in action!

* Shipping/handling and tax apply to purchased kits but not free kits. Offer valid May 1–31, 2011 only. Products or memberships purchased on a Studio J® website, even if Studio J is entered via a MyCTMH® site, do not count toward a qualifying order. While supplies last.

Monday, May 02, 2011

Dragonfly Mother's Day Card


I made this card for my Mom for Mother's Day.  She's a quilter, and a fan of dragonflies.  This card sort of incorporates the two.  The dragonfly was cut from the Stamping Cricut cartridge.  To give it a "quilty" sort of feel, I added the stitches around the edges with marker.  Behind the cut-out, I used a technique called "Iris Folding", where you layer strips of folded paper working from the edges of the design into the center.  It sort of gives the paper a quilted look.


You can find out the details of this technique at the bottom of this post.  Layering all that folded paper does add a little bulk, but not as much as I feared.  I covered the back side (which is on the inside of the card) with the butterfly B&T paper from the Wings Paper Pack.  I think the "busy"ness of the paper conceals the thickness of those folds really well.  You don't even notice it!


To finish off the front, I made an accordian flower and paired it with some Just Blooms flowers.  The tag is something I created using the Unity stamp set for the background and the Tiny Typewriter alphabet to write "Mom".

I wasn't a huge fan of the Wings paper before this, but the green and black seemed perfect for this card. 
Edited to add:  Paper Cutz Challenge link & H2H link.
Info on the Iris Folding Technique follows.  

LinkWithin

Related Posts Plugin for WordPress, Blogger...